Healthy Homes Start with the Envelope: Rethinking What Makes a High-Performance (healthy)Home
2026-08-10
Natural walls can improve health outcomes in our homes
2026-08-24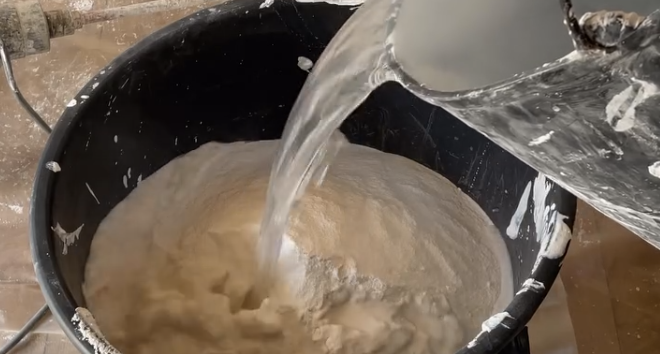
Lime plaster has been used for centuries for good reason. It is durable, vapour permeable, workable and well suited to many natural building systems. It can be used as an internal finish, external render, repair material, decorative finish or breathable coating over compatible natural walls. It can also be coloured with mineral pigments to create soft, natural finishes.
For natural building, lime is particularly useful because it can work with materials such as cob, earth, hempcrete, straw bale and masonry, provided the mix and substrate are appropriate.
There isn’t one universal lime plaster recipe. The appropriate mix depends on what is being plastered, whether the plaster is internal or external, the thickness of the coat, the aggregate available and the desired finish.
The following recipes and options provide practical starting points.
A Basic Lime Plaster Recipe
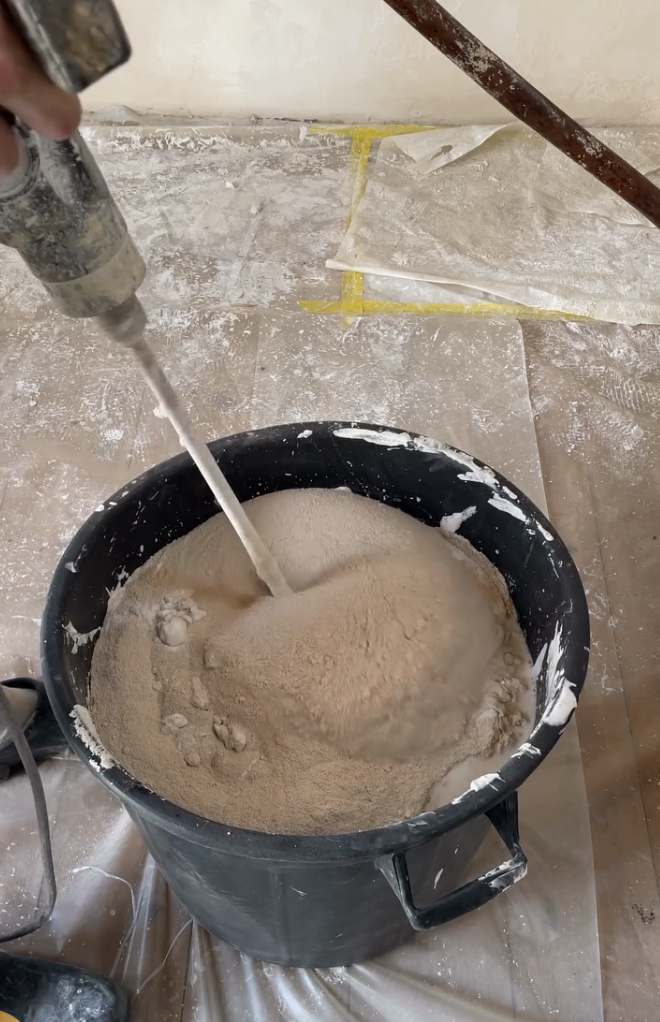
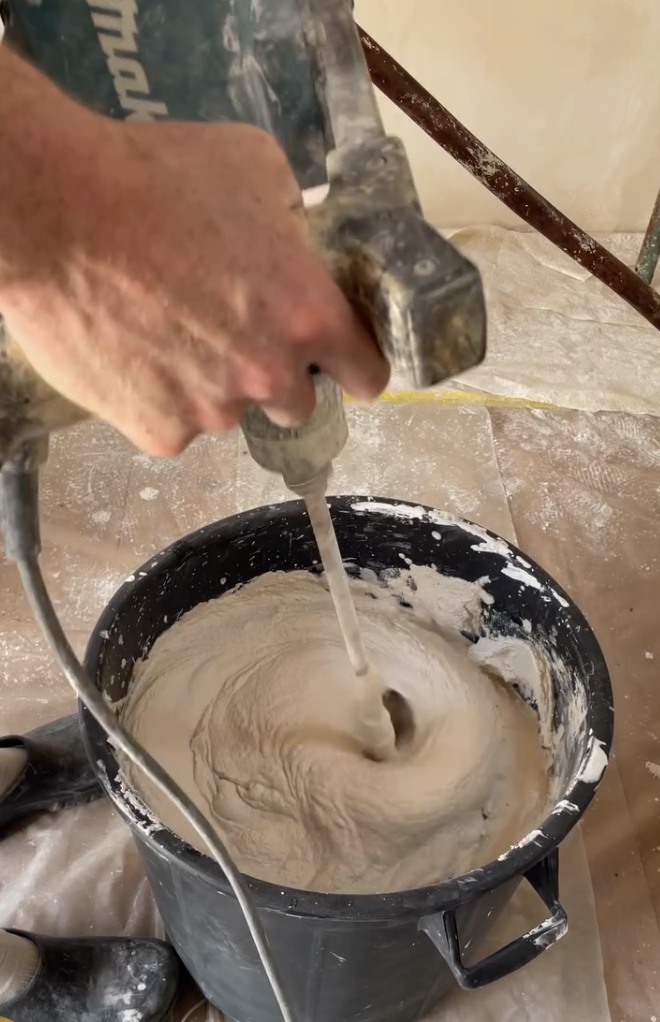
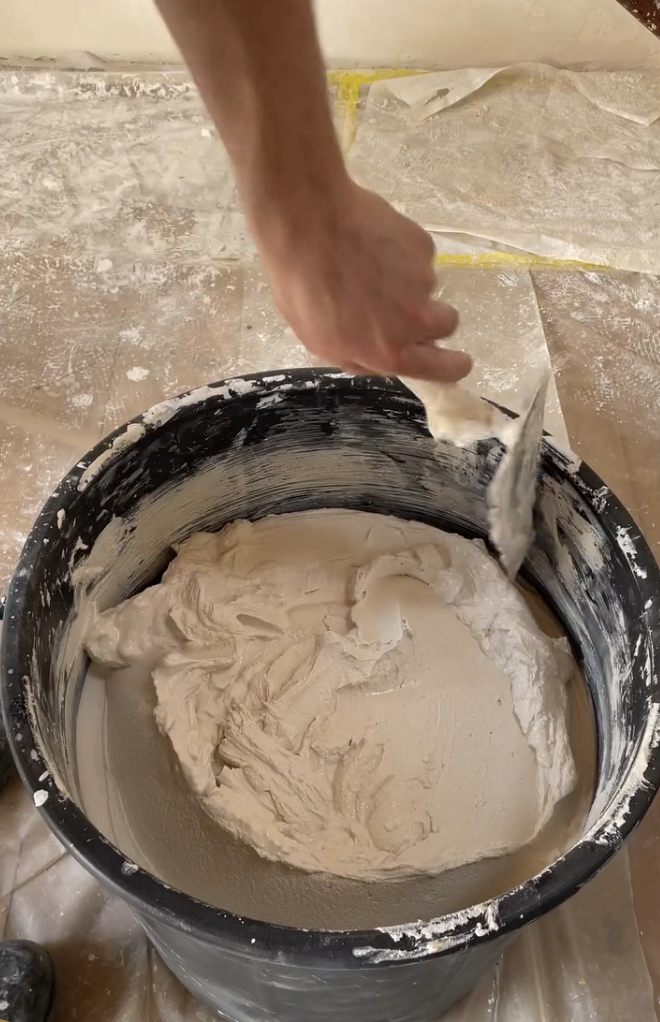
One useful fine lime plaster recipe we took from @isaacplasters is:
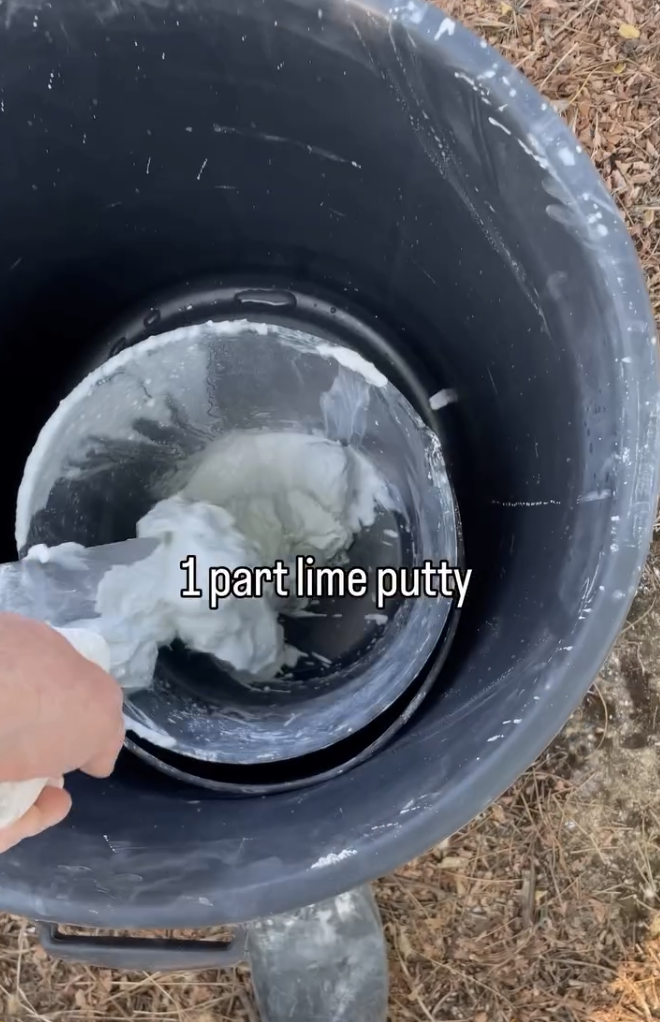
- 1 part slaked lime putty
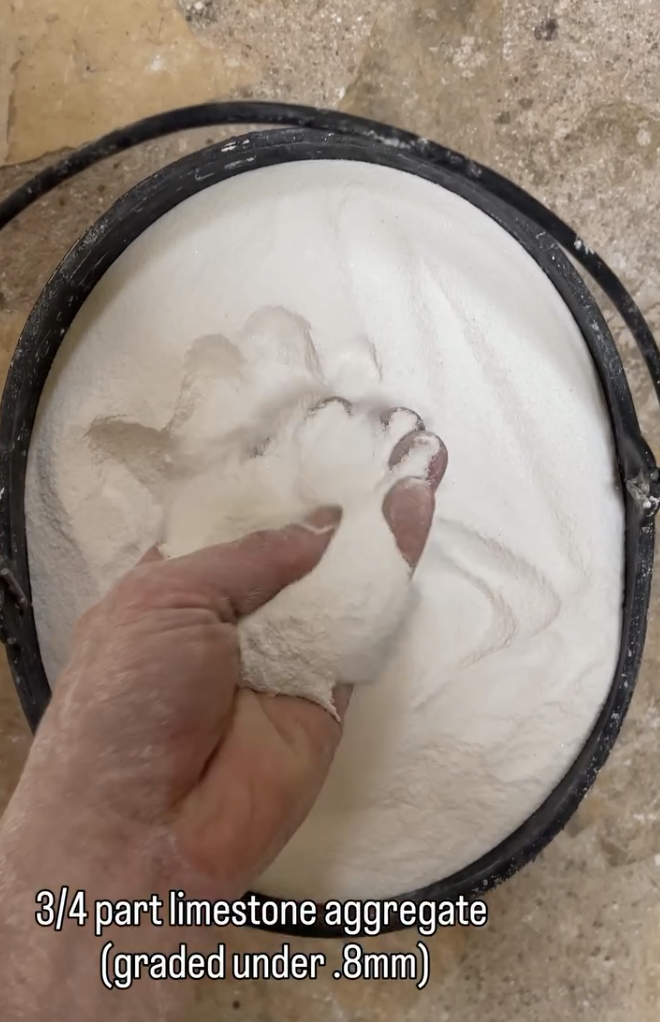
- 0.75 part limestone aggregate, graded under 0.8 mm
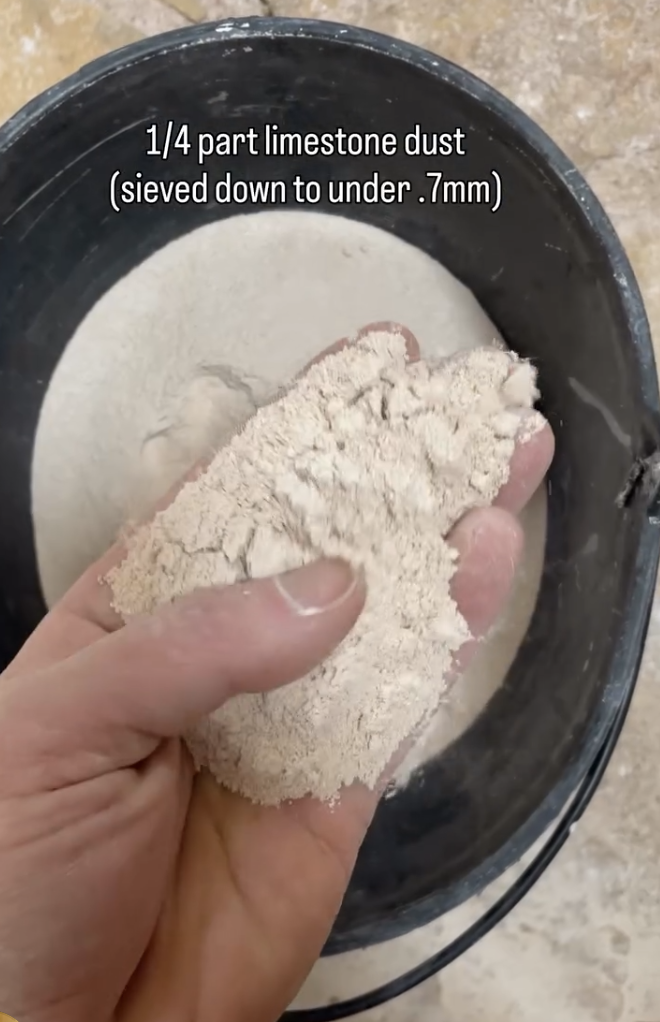
- 0.25 part limestone dust, sieved under 0.7 mm
- Additional lime water, as required to achieve the desired consistency
The aggregate and limestone dust perform different functions. The graded limestone provides the body of the plaster, while the finer limestone dust fills some of the spaces between the larger particles and helps produce a smoother finish.
Limestone dust can also contribute to the natural colour of the plaster, particularly where locally coloured limestone is available. Mineral pigments can also be added when a particular colour is desired.
The recipe should be treated as a starting point rather than a fixed formula. The aim is to have sufficient binder to coat the aggregate without creating an unnecessarily lime-rich mix. Excess lime can increase shrinkage and cracking, while insufficient binder can result in a weak or dusty surface.
Here’s some of the stages as set out by @isaacplasters in his recent Instagram video
What Is Slaked Lime?
Lime terminology can be confusing, particularly when comparing products available from different suppliers.
Quicklime is produced by heating limestone. When water is added to quicklime, it undergoes a chemical reaction known as slaking and produces calcium hydroxide. Depending on how it is prepared and stored, this can become a wet lime putty.
A mature lime putty is essentially calcium hydroxide and water, with a consistency that can range from thick cream to a soft, dense paste depending on its water content.
For plastering, lime putty is generally one of the most workable lime products available. It produces a smooth, creamy material that can be particularly pleasant to apply.
However, not all lime putties are equivalent.
The amount of water contained in a putty affects its density and therefore the amount of actual lime present in a given volume. A very wet putty can contain considerably less lime by volume than a dense, mature putty.
This is one reason experienced lime workers often adjust recipes according to the actual material rather than following volume measurements rigidly.
What About Hydrated Lime?
Hydrated lime is generally the easiest lime product for beginners to source.
It comes as a dry powder and is commonly available through building suppliers and some hardware outlets. Chemically, hydrated lime is calcium hydroxide, but it has not undergone the same process of traditional slaking and maturation as lime putty.
Hydrated lime can be used in lime plaster, but there are some important considerations.
Freshness matters. Hydrated lime can deteriorate in the bag as it reacts with carbon dioxide and begins to carbonate. Fresh material is preferable.
It is also important not to assume that a bucket of hydrated lime is equivalent to a bucket of lime putty. Hydrated lime is a relatively fluffy powder, whereas lime putty is a dense mixture of lime and water. Volume-for-volume, they contain very different amounts of lime.
One option is to turn hydrated lime into a putty before using it for plaster. Hydrated lime can be gradually mixed into water until it reaches a thick, creamy consistency and then allowed to settle. This is not technically the same chemical process as slaking quicklime, but soaking hydrated lime can improve its workability and produce a material that behaves more like a traditional lime putty.
Which Lime Is Easiest to Use?
For someone starting out, there are three main options.
Lime Putty
A good-quality mature lime putty is generally the preferred option for traditional lime plastering. It is highly workable and particularly suited to hand application.
The downside is availability. It may not be stocked by ordinary hardware stores and may need to be sourced from a specialist supplier.
Hydrated Lime
Hydrated lime is usually the easiest product to find. It is dry, bagged, relatively inexpensive and simple to store.
It can be a practical choice for small projects and experimentation, provided fresh material is used and the mix is adjusted to account for the difference between dry hydrated lime and wet lime putty.
Natural Hydraulic Lime
Natural hydraulic lime, or NHL, is a different material again.
Hydraulic lime contains naturally occurring reactive components that allow it to set through a hydraulic reaction as well as through carbonation. NHL products are commonly classified by strength, including NHL 2, NHL 3.5 and NHL 5.
The appropriate grade depends on the substrate, exposure and application. Hydraulic lime can be useful for certain external and masonry applications but should not simply be substituted into a putty-based recipe without understanding the differences between the materials.
For many interior lime plaster applications, lime putty provides an excellent starting point. For exposed external work, the particular substrate and climate need to be considered before selecting the lime.
Can Lime Plaster Be Mixed by Hand?
Small batches can easily be mixed in a bucket, tub or mortar tray using a hoe, paddle or similar hand tool. however, hand mixing has some advantages. It allows the plasterer to observe the material closely and gradually adjust the consistency. The aggregate, lime and water can be worked together until the particles are evenly coated and the mix reaches the required workability.
For larger quantities, mechanical mixing becomes much more practical.
A forced-action mixer or a hand mixer, or even a paddle mixer attached to a hand drill can be particularly effective for lime plaster because it thoroughly combines the binder and aggregate. A conventional cement mixer can also be used for some mixes, although lime putty behaves differently from cement-based materials and may require longer or more thorough mixing.
The important consideration is not simply the machine being used but whether the finished plaster is homogeneous, cohesive and workable.
Getting the Consistency Right
The amount of water required will vary considerably between batches.
Start with the lime putty and aggregate and mix thoroughly before gradually adjusting the consistency. The finished plaster should hold together, spread easily and remain on the trowel without becoming sloppy.
The required water content will depend on:
- the moisture content of the lime putty
- the moisture content of the aggregate
- aggregate grading
- temperature
- weather conditions
- application method
- desired finish
This is why lime plaster recipes are better understood as proportions and starting points rather than rigid formulas.
Lime water can be particularly useful for making small adjustments to consistency without substantially changing the overall binder-to-aggregate ratio.
Different Coats, Different Mixes
Lime plaster does not need to be the same throughout a wall.
A coarse base coat can contain larger aggregate and provide a suitable foundation for subsequent coats. A finer finishing coat can use smaller aggregate and more finely graded material to create a smoother surface.
The general principle is to work progressively from coarser to finer materials.
The limestone-dust recipe described above is suited to producing a relatively fine finish. The fine particles fill the spaces between the larger aggregate particles and create a denser, smoother surface.
Different finishing techniques can then produce different textures. Depending on the mix and application, a surface may be floated, trowelled, compressed or polished.
Adding Colour
Lime plaster can be coloured using suitable natural mineral pigments.
The limestone dust in a fine plaster can itself contribute to the colour, particularly where the aggregate has a distinctive natural tone. Additional mineral pigments can create colours ranging from warm ochres and reds through to greys, creams and earth tones.
Pigment additions need to be tested carefully. The colour of wet lime plaster can look substantially different from the final cured colour, and the same pigment can behave differently depending on the lime and aggregate used.
Small test panels are therefore essential when colour matters.
Where Can Lime Plaster Be Used?
Lime plaster has a wide range of potential applications, including:
- cob
- adobe
- rammed earth
- hempcrete
- masonry
- timber lath
- reed matting
- compatible existing mineral substrates
- appropriately detailed straw bale systems
However, the substrate matters.
Lime plaster should not be considered automatically suitable for every wall simply because both the plaster and substrate are described as natural.
The substrate needs to provide an appropriate surface for the plaster to adhere to, and the movement, moisture behaviour and strength of the materials need to be compatible.
Preparation is also important. The surface may need cleaning, dampening, roughening or the addition of a suitable key depending on the substrate and plaster system.
External lime plaster requires particular attention to weather exposure. Roof overhangs, eaves, drainage and protection from driving rain can have as much influence on longevity as the plaster recipe itself.
Limewash: The Simplest Lime Finish
Lime does not always need to be mixed with aggregate.
Limewash is essentially a much thinner lime coating, made by dispersing lime in water and applying it in multiple thin coats.
It can be used over compatible mineral surfaces and can be coloured with suitable pigments. Rather than creating a thick film on the surface, limewash gradually builds up through repeated applications.
This makes it particularly useful for traditional masonry, lime plaster and other compatible mineral substrates.
Limewash is also an example of why natural finishes don’t necessarily need to behave like modern paint. It is breathable, relatively simple to make and maintain, and can be renewed rather than stripped and replaced as a conventional coating might be.
Test Before Plastering the Whole Wall
The best way to develop a lime plaster mix is through small test panels.
Test different aggregate gradings, lime contents and consistencies. Try different application methods. Compare a smooth finish with a more textured finish. Test pigments if colour is required.
Allow the panels to cure before making a final decision.
A small test panel can reveal cracking, poor adhesion, excessive dusting, colour changes and other problems before they are repeated across an entire wall.
The test panel is also a way of understanding the material. Lime plaster is highly responsive to its ingredients, substrate and environmental conditions. Learning how the material behaves is at least as important as following a recipe.
Final Thoughts
Lime plaster is not difficult to work with, but it rewards attention.
The basic ingredients are simple: lime, aggregate and water. From those materials, however, an enormous range of finishes can be produced by changing the lime, aggregate grading, proportions, consistency, application technique and pigments.
For beginners, fresh hydrated lime may be the easiest product to source, while mature lime putty generally provides excellent workability. Small batches can be mixed by hand, while larger projects benefit from mechanical mixing.
The most useful approach is to start with a known recipe, make test panels and then adjust the mix according to the material, substrate and desired finish.
And above all, remember that lime plaster is a system rather than simply a bucket of ingredients. The quality of the substrate, detailing, application and curing conditions all contribute to the final result.
Further Reading & References
- Natural Building Australia — An Overview: Lime Renders, Earth Plasters, Washes and Tadelakt
A useful introduction to the different ways lime and earth-based finishes can be used in natural building, including lime renders, limewash and tadelakt.
Read more at Natural Building Australia - Heritage Victoria — Lime Mortars for the Repair of Masonry
Practical guidance on lime types, lime putty, hydrated lime, aggregate selection and traditional lime mortar practices.
Lime mortars for the repair of masonry - NSW Heritage — Heritage Maintenance: Mortars, Materials, Mixes & Methods
Detailed guidance covering lime putty, hydrated lime, mixing, proportions, application and curing, with useful information for traditional building and repair.
Heritage maintenance: mortars, materials, mixes and methods - Australian Drinking Water Guidelines — Calcium Hydroxide
Background information on calcium hydroxide (hydrated lime) and its properties.
Calcium hydroxide — Australian Drinking Water Guidelines
A note on recipes: Lime plaster recipes vary considerably depending on the lime, aggregate, substrate, climate and intended finish. The proportions in this article should therefore be treated as practical starting points rather than universal specifications. Always test a mix on the actual substrate before committing to a large area.